XJ-SC Cabriolet rear side window rubber replacement
It was time to replace the rubbers around the rear side windows on my Cabriolet, even though they had appeared to look fine with no cracks or obvious shrinkage.

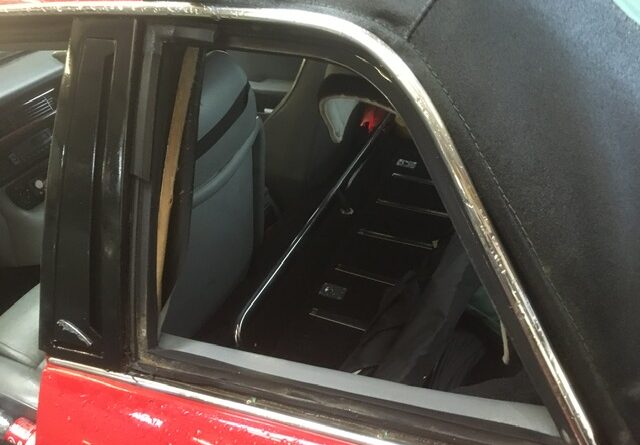
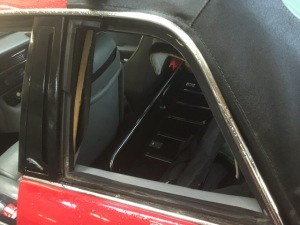
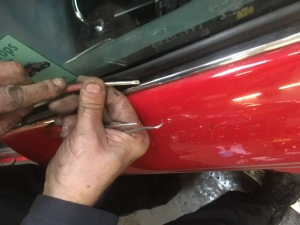
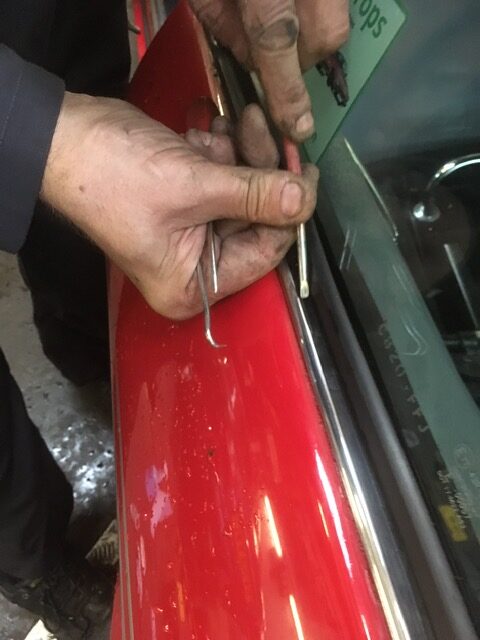
The first step was to remove the original window rubbers. This was done by running a sharp knife along the glass and through the rubber itself around the window, and then carefully to push the glass itself out from the inside of the car. Then the remaining rubber was pulled from the car window opening, and old mastic removed from the bodywork and the glass itself.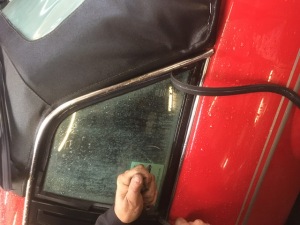
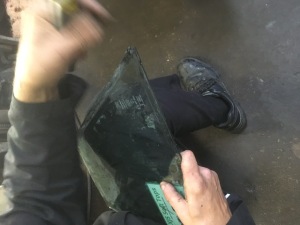


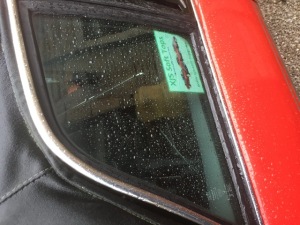

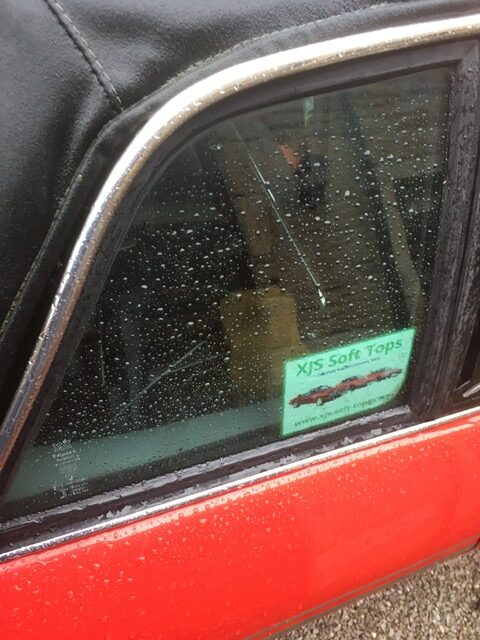
After discovering water in the bottom of the locker box on one side of the car, I traced the leak to the window rubber on that side’s rear window – by sliding my finger down the glass it became obvious the rubber had actually seen better days.
I guess if there were no replacement rubbers available I’d have simply made do with putting some sealant mastic between the glass and rubber edge and hoping it stopped the leak..,
I guess if there were no replacement rubbers available I’d have simply made do with putting some sealant mastic between the glass and rubber edge and hoping it stopped the leak..,
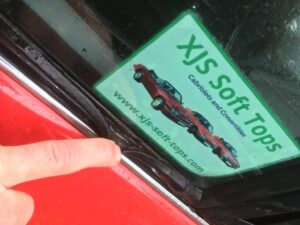
However, a few years ago I took the bold step to have a company reverse engineer the left and right side rubbers, from examples I had from a scrapped Cabriolet. This involved them manufacturing 3 different rubber extrusions, one for each side of the triangle, and then bonding them together to create the replacement rubber.
The original jaguar rubbers had volcanised corner joins, but the process of reverse engineering those would have made each rubber 10 times the price that I was able to get them made with industrial strength glued joints by the rubber specialist company.
The original jaguar rubbers had volcanised corner joins, but the process of reverse engineering those would have made each rubber 10 times the price that I was able to get them made with industrial strength glued joints by the rubber specialist company.

The first step was to remove the original window rubbers. This was done by running a sharp knife along the glass and through the rubber itself around the window, and then carefully to push the glass itself out from the inside of the car. Then the remaining rubber was pulled from the car window opening, and old mastic removed from the bodywork and the glass itself.

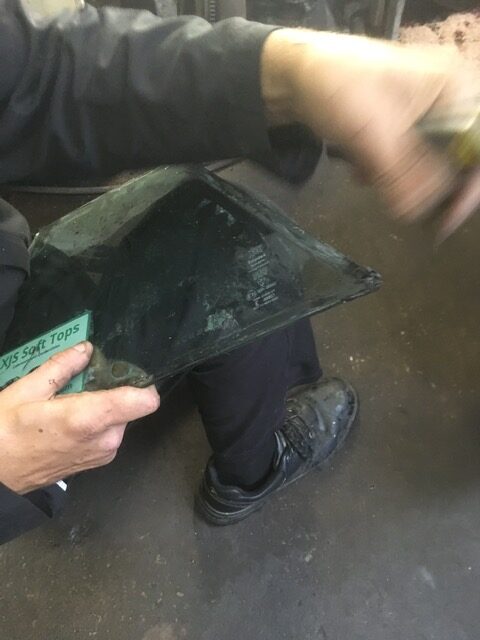

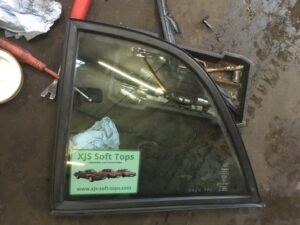
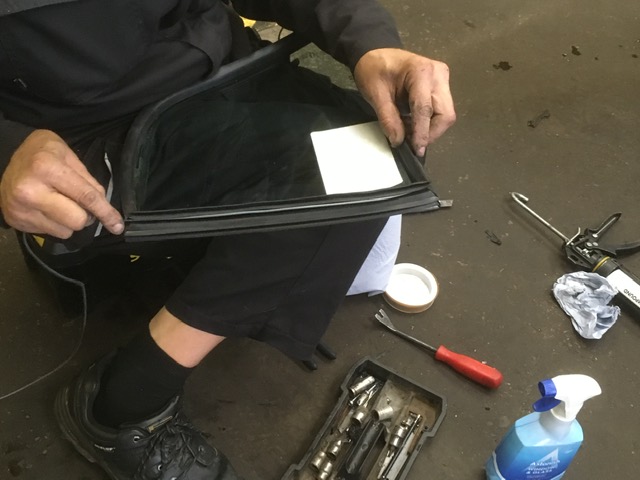
Once everything was cleaned up the new rubber was fitter to the glass.
The glass itself simply fitted into the groove around the inner edge of the new rubber – the rubber being stretched slightly to get the last corner of glass to fit into it.
The glass itself simply fitted into the groove around the inner edge of the new rubber – the rubber being stretched slightly to get the last corner of glass to fit into it.
On the inside edge of the window rubber a length of cord was placed in the grove (that the body work would eventually fit in) all the way round the window.
The cord went further round itself a little way and was tucked into again between the glass and rubber (so that it didn’t drop out when handled).
The cord went further round itself a little way and was tucked into again between the glass and rubber (so that it didn’t drop out when handled).
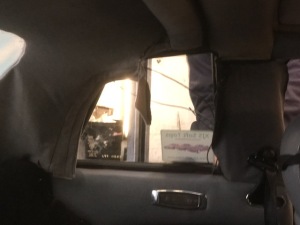
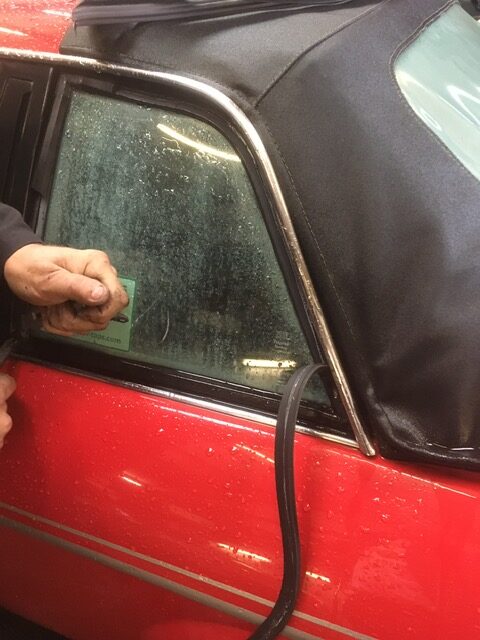
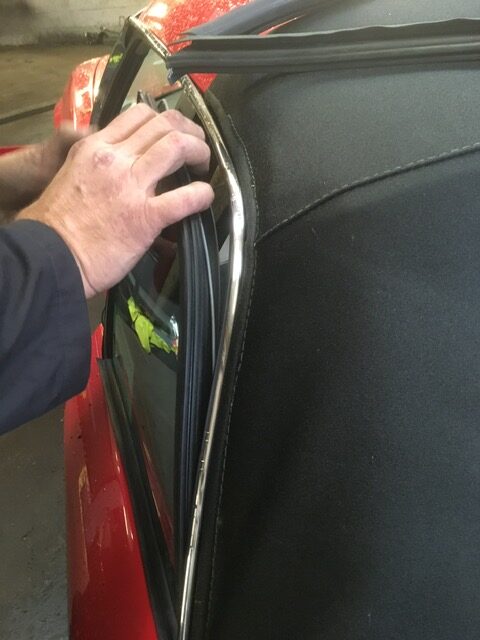
The glass, with its rubber fitted around it, with the cord fitted in the inner groove, was then placed into the window opening on the car. It was then pushed firmly so as much of the rubber slid into the bodywork opening.
Then, working from inside of the car while pressure was maintained on pushing the glass into the car, the cord was pulled from it’s groove – this had the effect of pulling the rubber itself up and over the bodywork lip and drop back in place. The cord was pulled off around the windows glass all the way round in one motion until all the rubber had been pulled over the bodywork lip and the window was fully held in place.
Then, working from inside of the car while pressure was maintained on pushing the glass into the car, the cord was pulled from it’s groove – this had the effect of pulling the rubber itself up and over the bodywork lip and drop back in place. The cord was pulled off around the windows glass all the way round in one motion until all the rubber had been pulled over the bodywork lip and the window was fully held in place.

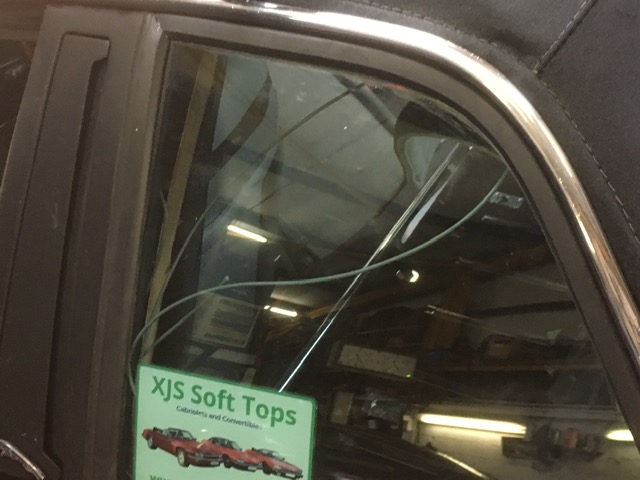
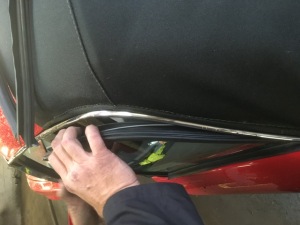
Once the window with its new rubbers was firmly seated into the bodywork (which took a couple of hefty thumps of the glass to fully seat the rubber) a thin bead of mastic was squirted between the glass and the rubber.
Once any excess was cleaned off the final fettling of the rubber along the chrome strip was carried out.
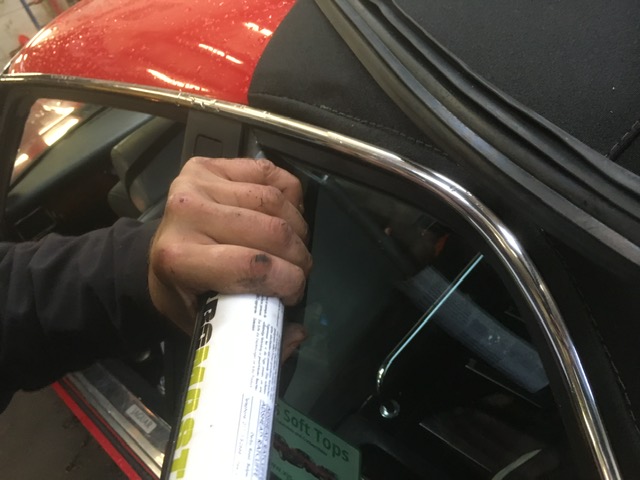
After some final cleaning up of finger prints off the glass and body work the job was done
[btnsx id=”10139″]
Article Published : 25th October 2019
Article written by : Laurence Jones
www.xjs-soft-tops.com
Article written by : Laurence Jones
www.xjs-soft-tops.com
[btnsx id=”10143″]
If anyone would like to buy replacement rubbers for their Cabriolet, like those used in this article, please visit the Club Shop – Click Here